Lessons Learnt
 Since I restarted my home-brewing hobby, following my retirement from full-time work in 2020, I’ve made several batches. I made a few mistakes during my initial efforts, mostly small glitches, but generally the beer was pretty good. And some of the problems I’ve encountered have been dealt with by investing in better equipment. I haven’t had any major calamities, but lessons have been learnt!
Sanitisation
Do NOT skip any sterilisation steps. If you aren’t certain it’s sanitised, sanitise it again.
Treat Your Water
Ensure your brewing water (known as liquor) is high quality. Tap water in the UK is very good quality, but it is generally advisable to treat water to reduce chlorine, to correct alkalinity, and to adjust the calcium level. Also, check each of these aspects of tap water for every brew, as they can vary throughout the year. However, I have found that it is acceptable to only correct alkalinity during the mash (see below).

Even if your brewing water (‘liquor’) is treated beforehand, the pH of the mash can still be out. And it is not too late to adjust the pH during the mash. A pH meter makes it easy to measure the pH, and they aren’t too expensive.
I have actually found that the mash pH tends to be too low even if the water is treated beforehand. So I usually only adjust it as necessary during the mash.
Use Finings
If it’s important to you to have beer you can ‘see through’, use finings in the boiler and in the fermenter. I’ve found that if you do both of these, and recirculate during the mash, and rack your beer from a primary fermenter into a secondary (using finings in each), I always get clear beer. However, if a recipe calls for ‘dry hopping’, this makes it more difficult to get clear beer.
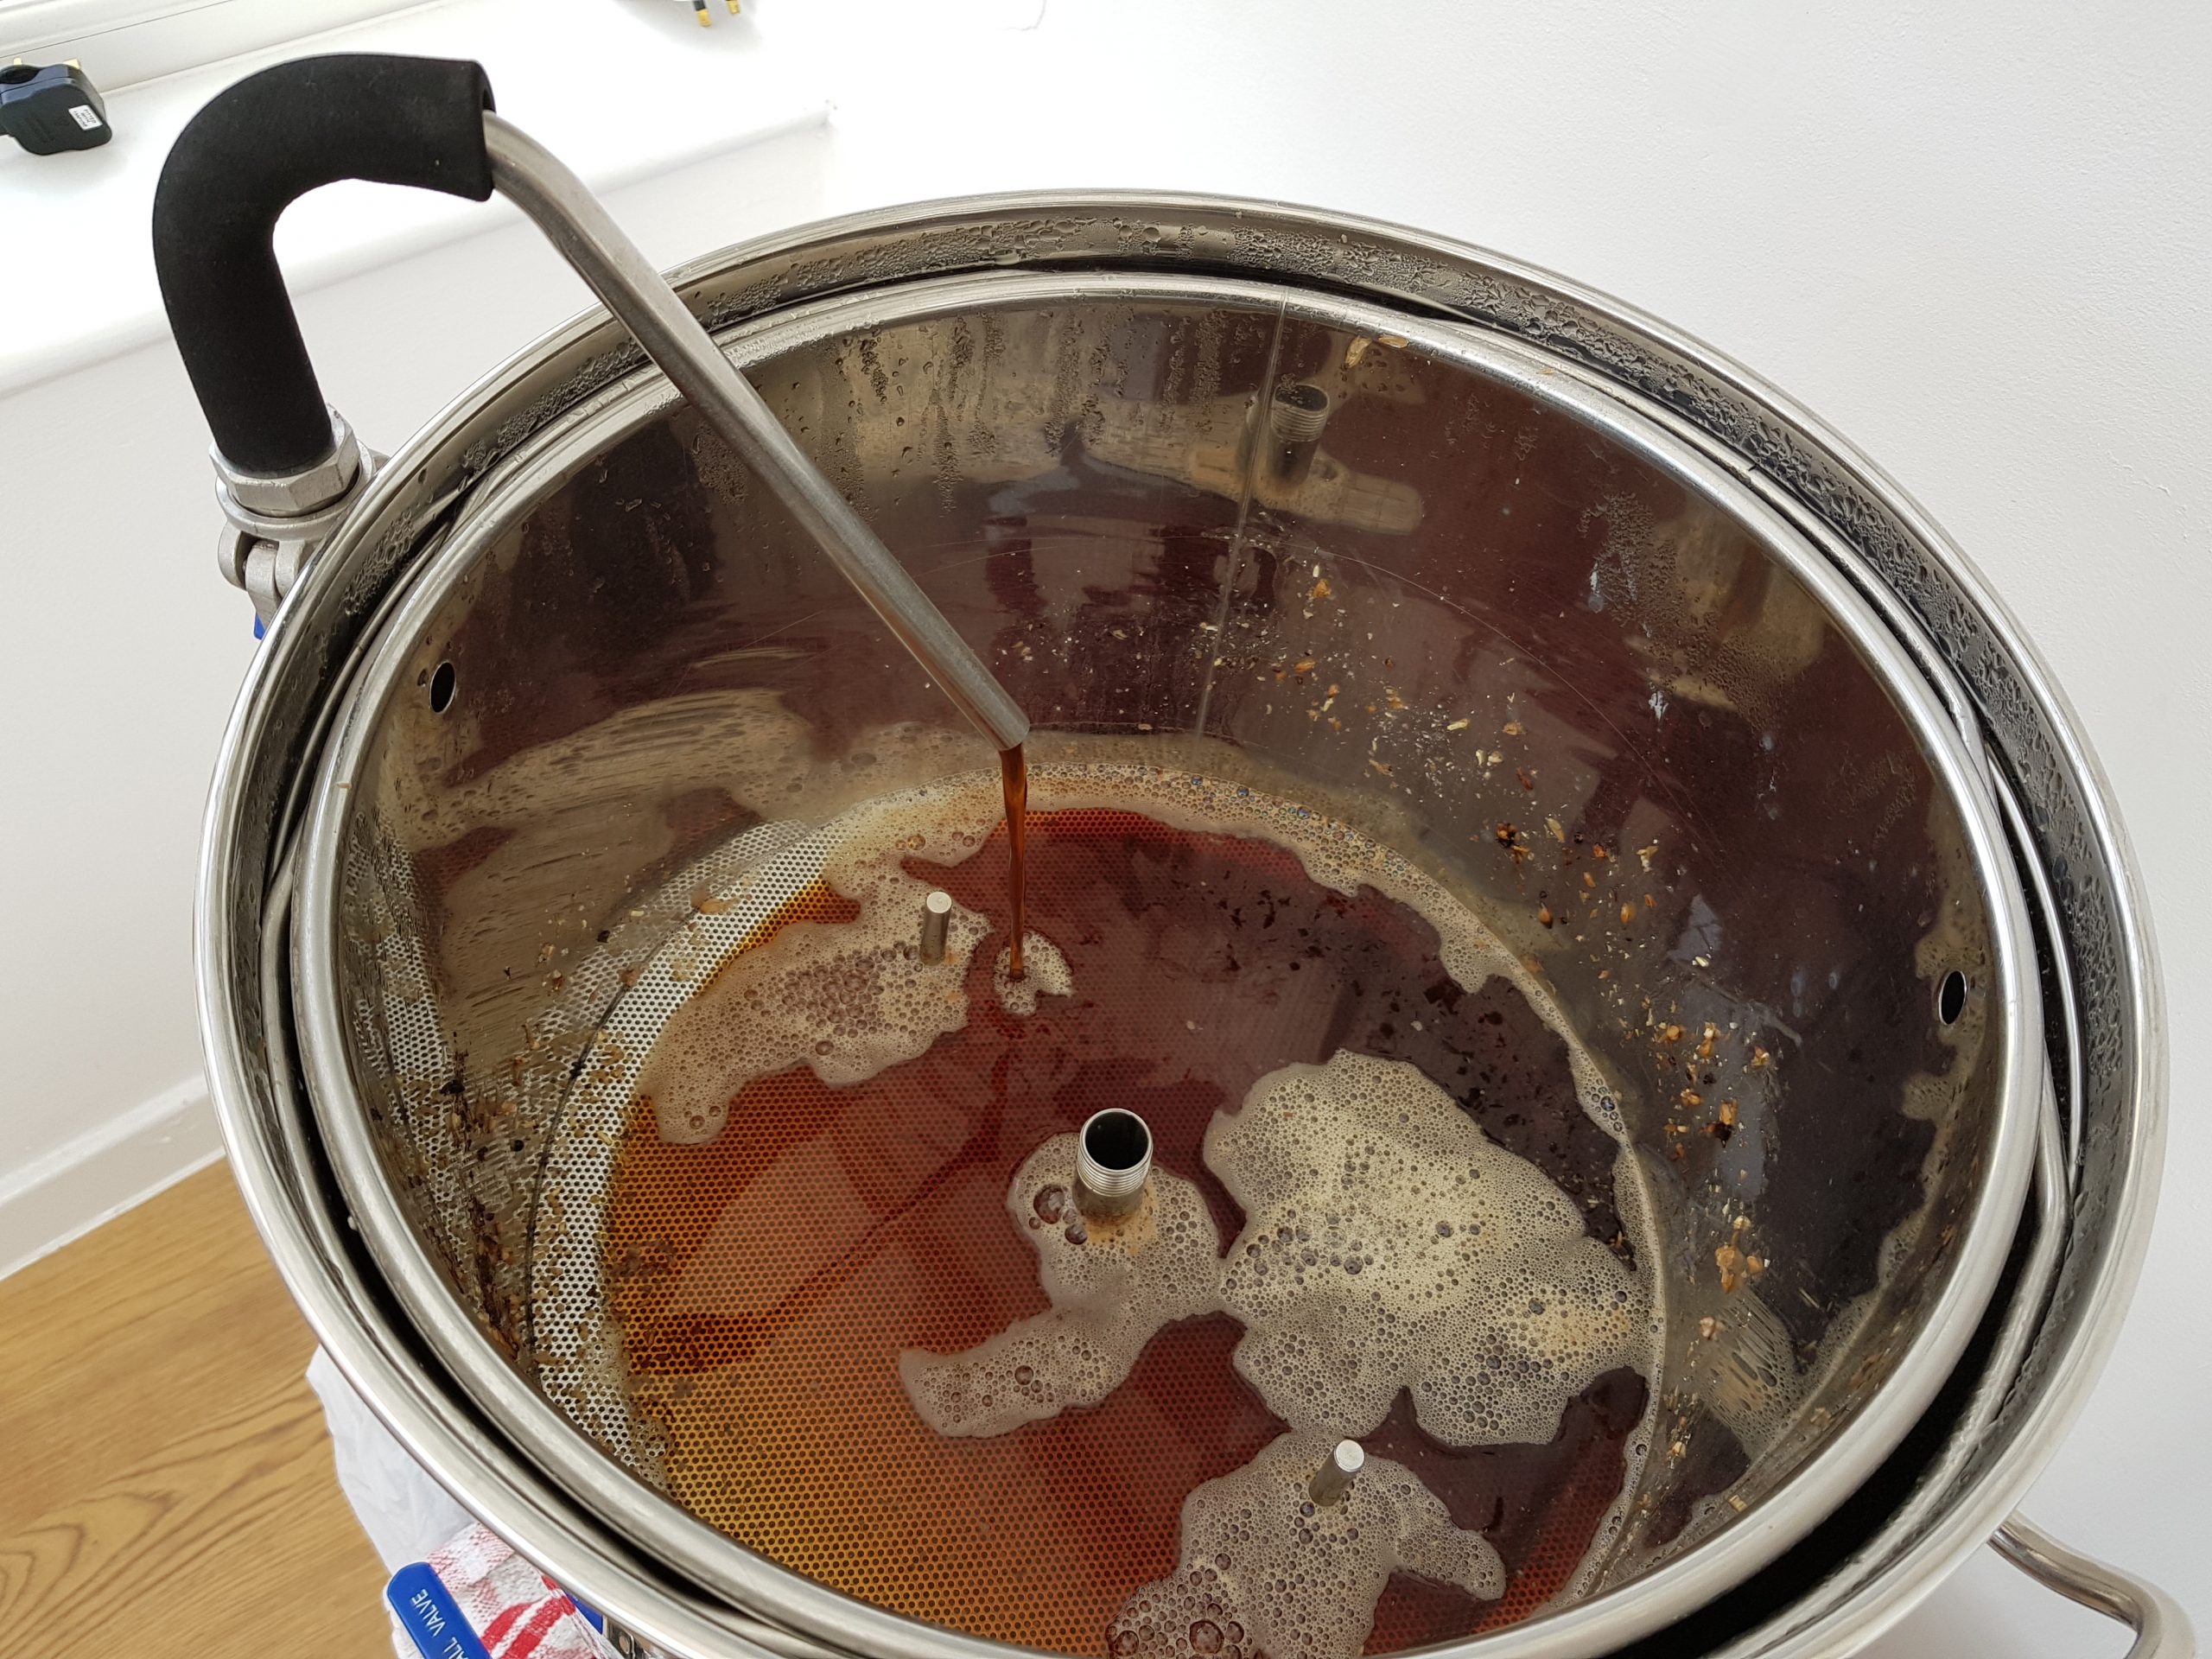
The term ‘Lautering’ refers to the following 3 steps: mashout (raising the temperature at the end of the mash), recirculating the first runnings, and then sparging. I’ve latterly started to include a mashout at the end of the mash, but I haven’t noted any added benefits (with regard to mash efficiency). I am able to recirculate continuously throughout the mash with my equipment (see photo), so there’s no need for me to specifically recirculate the first runnings.
Keep a Close Eye on Your Boiling Wort
Firstly, don’t put a lid on your boiling vessel. And secondly, scoop (and discard) the film off the top as the wort comes to the boil – this is known as the ‘hot break’.
Use a Hop Basket
Muslin bags can be used to hold the hops during the boil. However they have two disadvantages: they are not readily reusable, and you will need more than one per batch if hops are required to be added at several stages during the boil. I latterly discovered the hop basket. This is a reusable container with an open top, so hops can easily be added at each of the required stages of the boil.
Use Leaf Hops
I have found that leaf hops create less trub in the boiler than pellet hops.
Cool Wort Quickly Before Pitching Yeast:
Be sure the wort is cooled all the way down to the required temperature (about 24°C) before adding (pitching) the yeast. I use a counter-flow wort cooler.
Original Gravity Can Be Adjusted
If you have done all the right things during mashing and sparging, and the OG is still less than expected (when measured before the yeast is pitched), it can be increased just by adding brewing sugar. Or, if the OG is sufficient to produce a reasonable alcohol (ABV) level after fermentation, leave it as it is.
Syphoning is Fiddly
It is essential, when the finished beer is being transferred from the fermenter into the keg and/or bottles, that there is minimal contact with air, hence the need to use a syphoning tube. However, when I invested in a conical fermenter, I discovered that a tube may be connected to the bottom tap, to transfer the beer directly into bottles and into my Cornelius keg, simply by keeping the bottom of the tube below the level of the beer as much as possible.
You Can’t Get High Pressure into a Plastic Keg
If you want to force-carbonate your beer in a keg, you need to get at least 30 psi into the keg initially for a week. Plastic kegs (such as ‘King Kegs’) just won’t allow this – their rated maximum pressure is about 15 psi. Also the lids don’t form a consistently good pressure seal. I now use stainless steel Cornelius kegs – they can take a high pressure, which can be maintained for a week (and longer), and they rarely leak. This was probably the best investment I made!
A recent batch didn’t clear sufficiently before transferring into my Corny keg, so I added further finings into the keg. The finings worked, and most of the suspended ‘crud’ dutifully sank to the bottom. However, the outlet tube takes beer from the very bottom of a Corny, so this just pulled the sediment with it!
Make Use of Advice
I have found a lot of good advice on the internet. There are many home-brewers out there who (like me) publish their advice online.
Take In-Depth Notes
Write down what you do, step by step, and measure each step, so you can do it again if it’s great; or avoid making the same mistake twice!