Packaging and Conditioning
 When the fermentation is complete, the beer is siphoned into a keg and/or bottles. It’s important at this stage not to introduce any more oxygen into the beer, hence the need for careful siphoning (or use a conical fermenter, which removes the need for syphoning, as discussed on the Equipment page).
If using a Cornelius style keg, the beer should be left to clear in the fermenting vessel for a further 7 days before transferring to the keg. For ales (as opposed to lagers) the keg and/or bottles should then be stored in a warm place for 5 to 7 days. After that, the beer should then be left to clear and mature in a cool place for a minimum of 3 weeks – this is referred to as ‘conditioning’.
For lagers, the conditioning process is somewhat different. A diacetyl rest is recommended after the last week of fermentation. Raise to 13-14°C for 3-5 days before transferring to a keg, and then ‘cold crash’ the keg to about 2°C for about 24 hours. After this, lager beer should be aged for an extended period at a cold temperature (5ºC) – this is referred to as lagering. Six weeks is a typical lagering period for a traditional Pils-gravity beer.
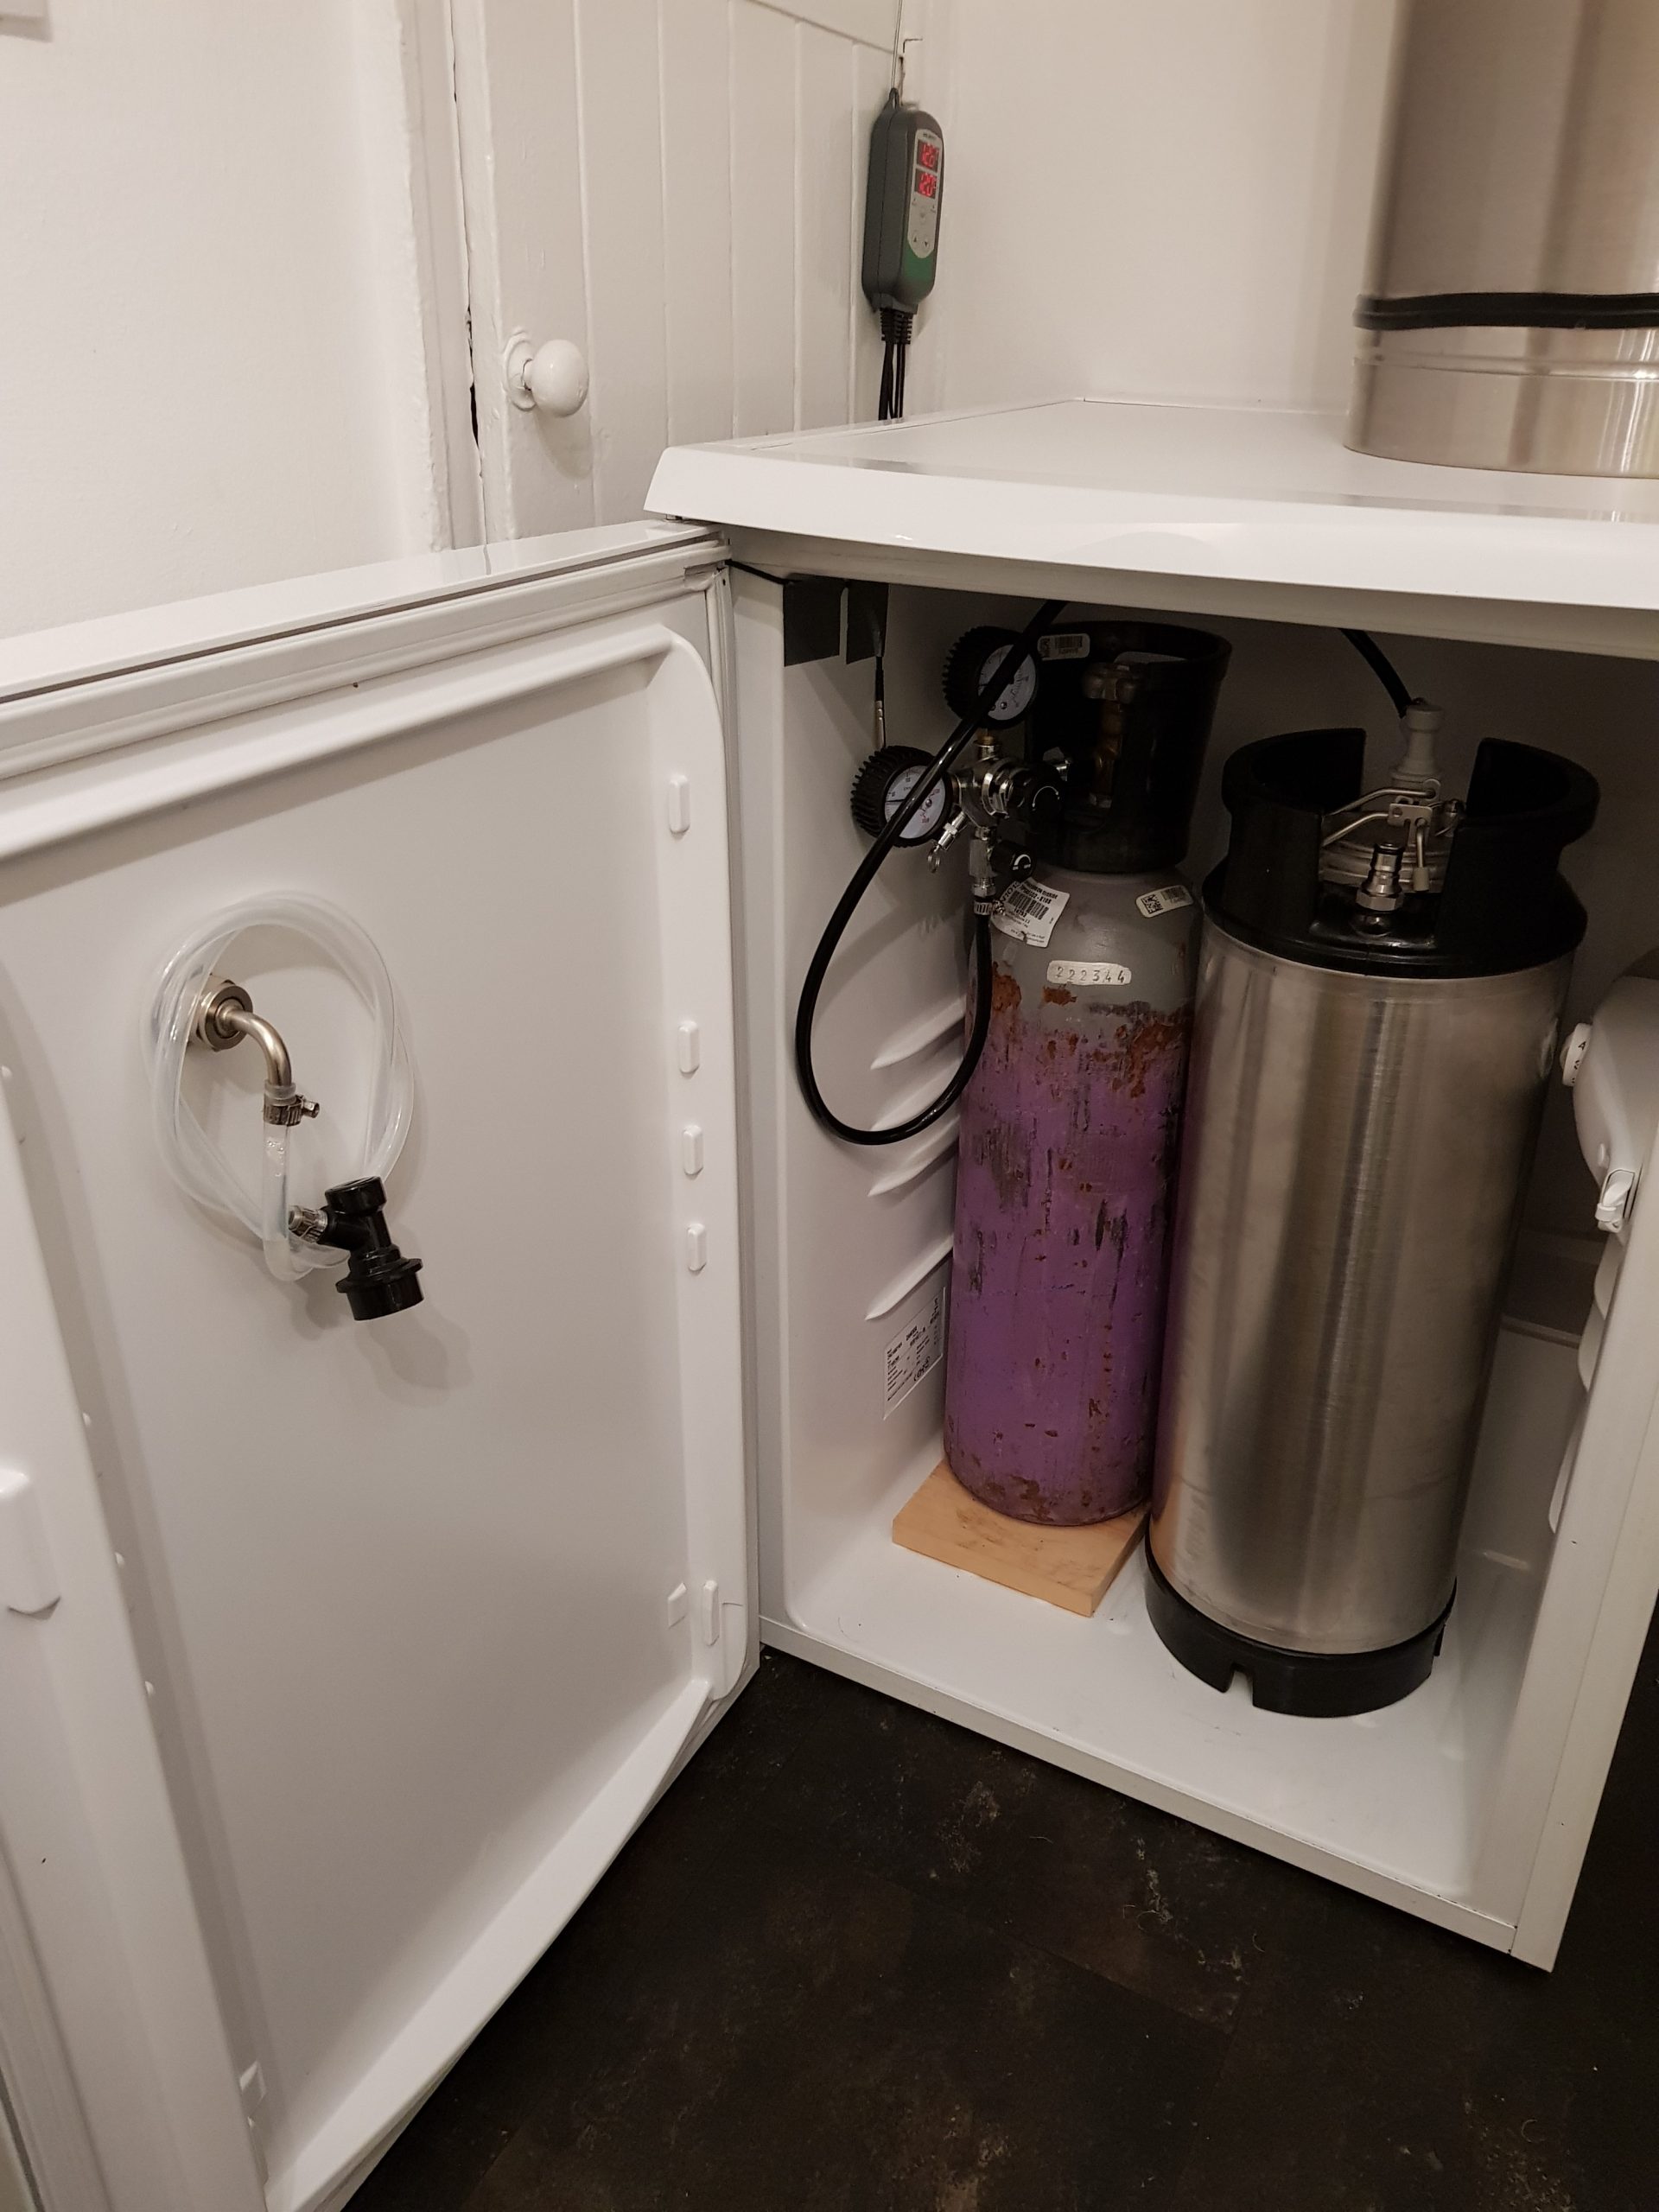
A further note about carbonation (also known as ‘conditioning’), or the amount of ‘fizz’ in your beer. In bottles, the idea is that the beer goes through further fermentation, which is promoted by adding sugar. This is known as ‘bottle conditioning’. However, kegs (such as the Cornelius keg, see photo) use forced carbonation, whereby a carbon dioxide (CO2) cylinder is connected to the keg, via a regulator. Force carbonating beer in a keg requires the correct regulator setting. The Brewers Friend Keg Carbonation Calculator calculates keg pressure (in PSI) to set the regulator to, at a given temperature and given volumes of CO2. This should be maintained for a few weeks. If you want to speed up this process, carbonate initially at about 30 psi for a week. When you want to start drinking your beer, the correct pressure for dispensing the beer from the keg is 4 to 10 psi, depending on how fizzy you want your beer to be, and the amount of ‘head’ you want.
I use what’s called a ‘kegerator’, which is basically a refrigerator which contains the keg (and the CO2 cylinder if desired, see photo). The fridge should be temperature controlled at about 10ºC for ales (which actually mimics the temperature of a traditional beer cellar) – normal fridge temperatures (5ºC) would be too cold for ales, but about right for lagers. I use an Inkbird temperature controller.
 If bottling your beer, add a ‘carbonation drop’ to each bottle. For example Coopers Brewery Carbonation Drops, which are 27% glucose and 73% sucrose. Carbonation drops have the advantage of adding a consistent and controlled amount of sugar to each bottle.
One further note about bottling lagers. The cold crash period described above is not needed. After kegging and/or bottling your lager, cold crash the keg (as described above), but leave the bottles at room temperature for bottle conditioning to occur. A few days before a bottle is opened, put it in the fridge to cool to 5ºC.
It’s worth investing in a decent bottle-capping tool, which will make the process easy and (virtually) foolproof (see photo). An important part of the bottling process is cleaning and sanitising the bottles beforehand. This of course can be quite tedious if you’re bottling all of a 23 litre batch – that’s at least 40 bottles! I usually put most of my batch into my Corny keg, and also fill 10 bottles.